The reflections that my students provided helped me craft our first project. They wanted to learn how to make "copies" of themselves in photos. They also wanted to learn how to layer pictures inside of one another. So, I set to work doing my research. What was the easiest way to teach these concepts? Our cameras don't have a multiple exposure setting, so I knew I'd be relying on photoshop for the layering effects in both pictures.
As I approached multiplicity with the students, I explained to them that they were essentially creating many versions of themselves in the same photos. They would need to set up a "scene" in which they would appear many times, but the background would remain the same. Then, they would import their various images and just cut their subject out of each layer, until they had several of the same person in a given shot.
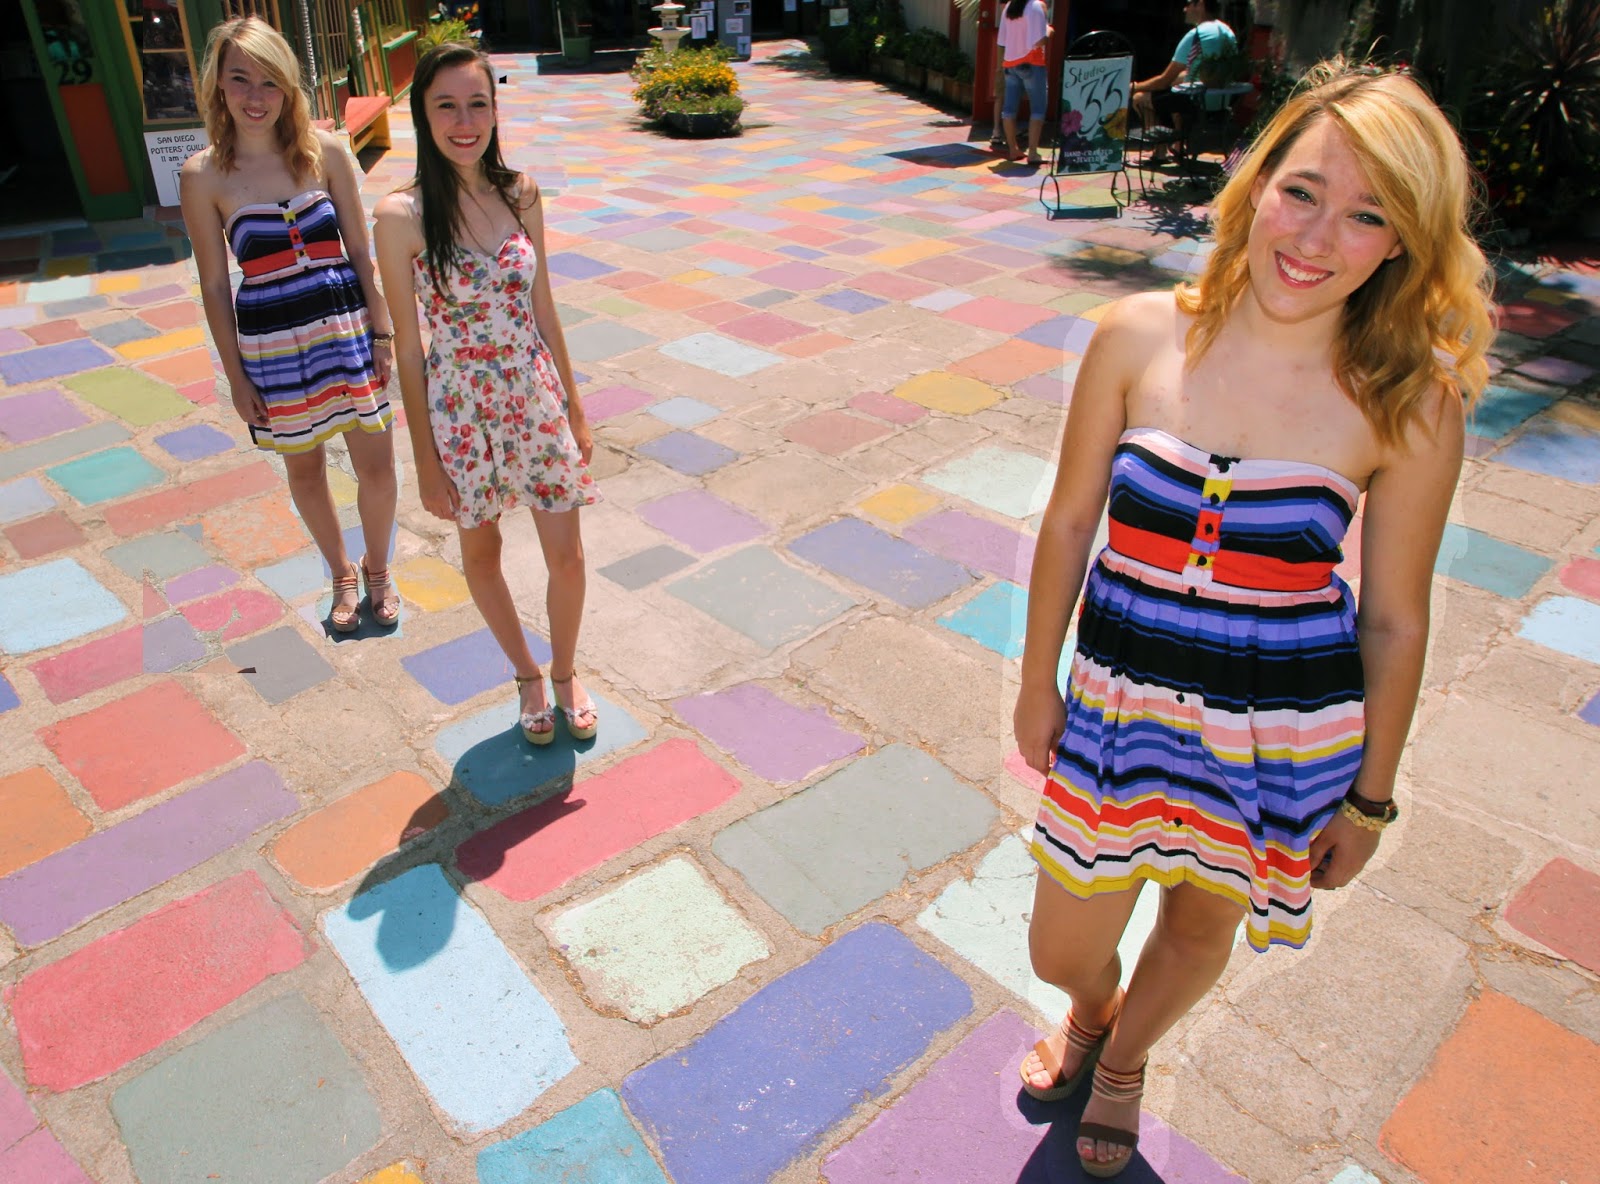 |
| While these students are actually twins, they are not identical. The multiplicity project let me duplicate one of the twins to add a funny commentary to their senior picture. Photo by Jessica Young. |
When it came to the double exposures, the students were really impressed with photos that used silhouettes to create an outline, while the inner part of the image was filled with an alternate scene. For these photos, I had the students shoot their own portraits against a plain background and then either photograph or search for a landscape or background image to blend with their own. For many of them, they struggled to find images large enough to blend with their own photos. Many of them did not understand the difference in pixels per inch and dimensions. This will have to be a future lesson for them, so that they can match their image sizes more accurately.
 |
| I used photos like this one to demonstrate to the students how their multiple exposures would turn out. This is one of the sample images that I provided the students with, along with some youtube tutorials. Photo by slickphotography. |
Overall, I feel that the students were more successful with the multiplicity version of the projects. While they all created images for both types of exposures that were interesting and creative, I think they had more fun shooting the pictures that allowed them to multiply themselves. For many of the students, I think the meticulous detail and steady hand that the multiple exposures required became tedious. I also think that they did not manage their time very well, so they were rushed in completing their multiple exposures, while they had the luxury of time on their side with the multiplicity effect.
No comments:
Post a Comment